Trailer axle maintenance

Home » Trailer axle maintenance

1. Understanding Trailer Axles: A Simple Guide for Non-Professionals

Trailer axles are like the backbone of your trailer, essential for stability, load capacity, and overall performance. For those who aren’t pros, let’s break down the basics of different trailer axles and why they matter.

Types of Trailer Axles:

Leaf Spring Axles:
  • What: Common and sturdy, these axles use stacked, curved metal strips (leaf springs) for suspension.
  • Why: Simple and robust, great for heavy loads.
Torsion Axles:
  • What: These axles use rubber cords for suspension, offering a smoother ride without the need for external shocks.
  • Why: Popular in lightweight and recreational trailers for improved handling.
Independent Suspension Axles:
  • What: Unlike traditional solid axles, each wheel can move independently, boosting stability and comfort.
  • Why: Often in high-end or specialized trailers for superior road handling.
     

The Role of the Axle:

The axle is your trailer’s backbone, linking the wheels and supporting the entire load. Key functions include bearing the weight, providing suspension for a smoother ride, and ensuring proper alignment and stability.

2. Common Mistakes to Avoid in Trailer Axle Maintenance

Trailer axle care is vital for safe towing, but there are common mistakes to dodge:
Overlooking Regular Inspections:
Visual checks are crucial. Look at the bearings, seals, and suspension regularly to catch wear and tear early, ensuring safety and performance.
Neglecting Lubrication and Greasing:
Keep those axles greased up! Neglecting lubrication can lead to friction, heat, and premature wear. Grease helps prevent these issues, maintaining top-notch performance.
Ignoring Signs of Potential Issues:
Weird noises, vibrations, or uneven tire wear signal trouble. Don’t ignore them! Addressing these signs promptly prevents bigger problems and costly repairs. Listen up during towing, and act fast if something seems off.

3. Regular Inspection Procedures: Ensuring Trailer Axle Health

Keeping your trailer axle in top shape requires regular inspections. Here’s a simple guide, even for non-professionals, to ensure your trailer stays in peak condition.
Visual Inspection of Axle Components:
  • Look for damage, rust, or loose parts.
  • Ensure the axle is securely attached.
  • Check for leaks around seals and inspect suspension components.
Checking for Signs of Wear and Tear:
  • Inspect tires for uneven wear patterns.
  • Check for play or movement in the wheels, indicating bearing issues.
  • Early addressing of signs prevents further damage.
Ensuring Proper Alignment:
  • Confirm correct wheel alignment.
  • Check for drifting or pulling while towing, as misalignment affects tire wear and trailer stability.
Examining Brake Components:
  • Regularly check brake pads for thickness and condition.
  • Look for signs of overheating, like discoloration.
  • Proper brakes are crucial for safe towing.

4. Trailer Axle Service: A DIY Guide for Non-Professionals

Servicing your trailer axle is vital for smooth operation. Even if you’re not a pro, here’s a step-by-step guide with the tools and materials you’ll need.
Tools Required:
  • Adjustable wrench (large): Loosen and tighten nuts.
  • Flat-head screwdriver: Essential for delicate tasks.
  • Hammer: Handy for tapping and maneuvering.
  • Jack: Lifts the trailer for easy access.
  • Jack stands (2): Ensures stability and safety.
  • Needle-nose pliers: Useful for precision tasks.
  • Wrench for lug nuts: Designed for lug nut removal.
Materials Required:
  • Bearing grease: Lubricates for smooth operation.
  • Brake cleaner (spray can): Cleans brake components.
  • Clean rags: Wipes and cleans various parts.
  • Kerosene: Cleans effectively.
  • Penetrating fluid: Loosens rusted components.
  • Small pan: Catches dripping fluids.
Step-by-Step Guide:
  1. Remove the wheel: Use the lug nut wrench.
  2. Remove the dust cap: Gently pry off with a screwdriver.
  3. Remove the cotter pin: Straighten and remove.
  4. Remove the hub: Use a large adjustable wrench.
  5. Remove the rear bearing and seal: Carefully take them off.
  6. Check parts for wear: Inspect for signs of wear, damage, or rust.
  7. Clean bearings: Use kerosene and a clean rag.
  8. Pack grease into the bearings: Apply grease for lubrication.
  9. Reassemble the hub: Place back on the spindle.
  10. Finish up: Put the dust cap back, secure with a new cotter pin, and reinstall the wheel. Ensure lug nuts are tightened evenly.

5. Lubrication and Maintenance of Axle Components: Ensuring Longevity and Performance

Axle components, the often-overlooked heroes of a trailer, rely on proper lubrication for their longevity and performance. Recognizing the importance of lubrication, understanding the right type of lubricant, and establishing a greasing routine are critical for keeping your trailer in top shape.
Trailer axle
Regular greasing is essential for the health of axle components. The frequency depends on factors like trailer usage, load capacity, and environmental conditions. As a general guideline, greasing every 3,000 to 5,000 miles or at least once a year is advisable. However, trailers under heavy loads or harsh conditions may require more frequent greasing.
Trailer Axle Lubrication Procedure:
  1. Gather Materials and Tools: Ensure you have the right grease, a grease gun, and protective gear.
  2. Lift the Trailer: Use a jack to elevate the trailer, providing easy access to the axle components.
  3. Remove Dust Caps: Gently pry off the dust caps to expose the axle’s lubrication points.
  4. Clean Grease Fittings: Wipe away dirt from grease fittings using a clean rag.
  5. Apply Grease: Attach the grease gun to fittings, pumping grease until it emerges. Ensure all fittings get sufficient grease.
  6. Rotate Wheels: Rotate wheels to distribute grease evenly throughout bearings and components.
  7. Check for Excess Grease: Ensure excess grease isn’t oozing out, indicating over-greasing.
  8. Replace Dust Caps: Put dust caps back securely to protect greased components.
  9. Lower the Trailer: Carefully lower the trailer to the ground.
  10. Verify Lubrication Regularity: Write down the date and how far the trailer has traveled since the last time it was greased for the next time the grease is added.
By following this straightforward lubrication procedure, you’ll contribute to the health and performance of your trailer axle, ensuring smooth travels and a prolonged lifespan.

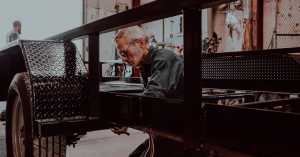
6. Axle Health and Cargo Safety: Why It Matters for Your Trailer

Taking care of your trailer’s axles is super important for keeping your cargo safe. If you’re running a fleet, selling trailers, or just dealing with them, here’s why axle health is a big deal.
Making Friends with Good Axle Suppliers:
First things first, it’s crucial to have good buddies who make your axles. These friends, aka reliable suppliers, make sure the axles meet all the rules and go through some serious quality checks.
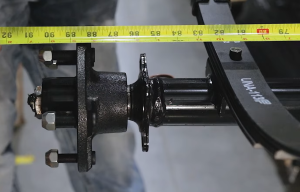
Why Good Materials Make Better Axles:
Think of axles like the muscles of your trailer. Using strong stuff like tough alloys and special steel makes these muscles sturdy and ready for heavy lifting.
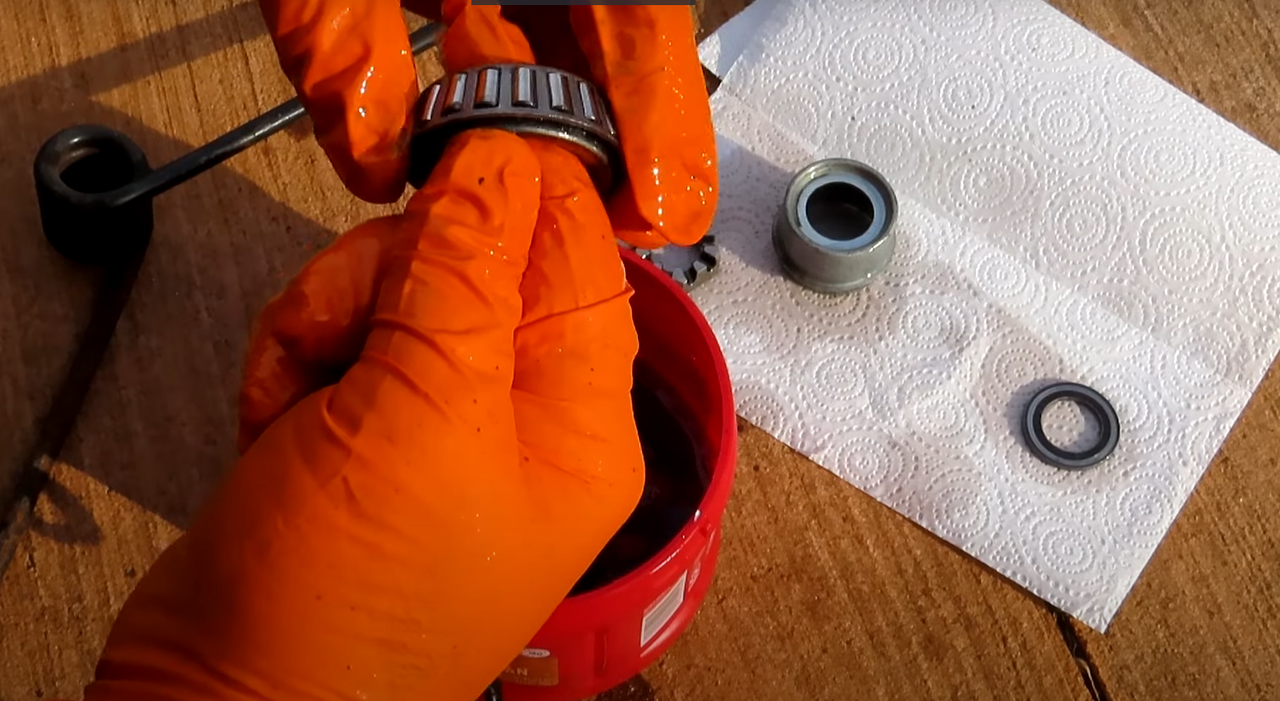
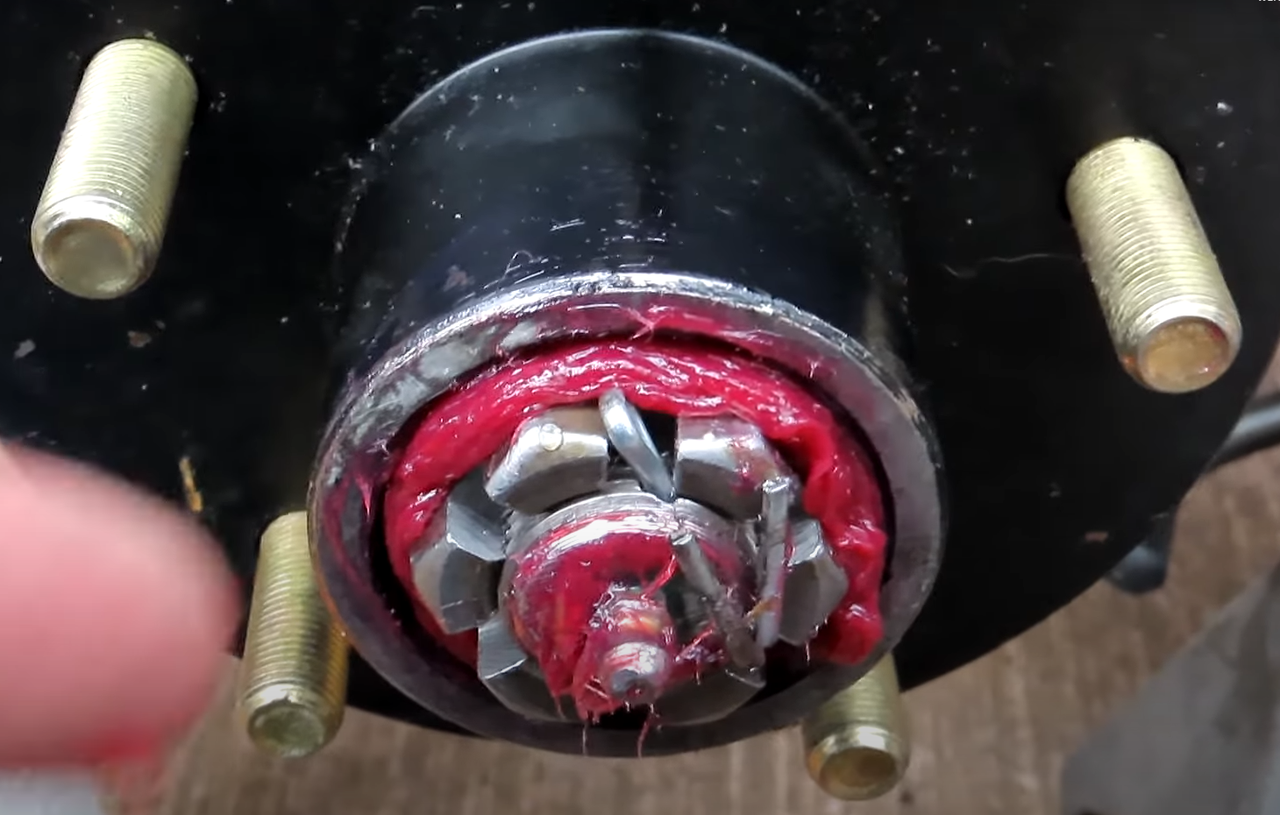
Saving Money with Smart Maintenance:
Here’s a money-saving tip – take care of your trailer before things go wrong. Regular check-ups, a bit of lubrication, and fixing things on time can catch problems early. This way, you avoid big breakdowns, keep your cargo moving smoothly, and save yourself from spending a lot on emergency fixes.

Need Help? We’ve Got Your Back!

If you ever get stuck or have questions, just hit us up:
📞 Call us at +86-574-8786-2718
📧 Email us at [email protected]
Our team is here to help you out like a buddy. So, don’t be shy – reach out to us anytime. We’re all about giving you top-notch support for anything related to your trailer parts.