5 Easy Steps to Replace Your Trailer Tires

Home » 5 Easy Steps to Replace Your Trailer Tires
If your trailer is starting to show its age, one of the first things you might notice are the trailer wheels. The weight of the trailer puts a lot of stress on the trailer tires, which causes them to wear down quickly. Replacing your trailer wheels is a relatively easy process that you can do yourself with just a few tools. Here are 7 easy steps to replace your trailer wheels.

          boat trailer with tires

1. Choose New Tires for Your Trailer
2. Jack up a Trailer

3. Remove the old trailer wheels

4. Inspect the Wheel Hub

5. Install the new trailer wheels

1. Choose New Tires for Your Trailer

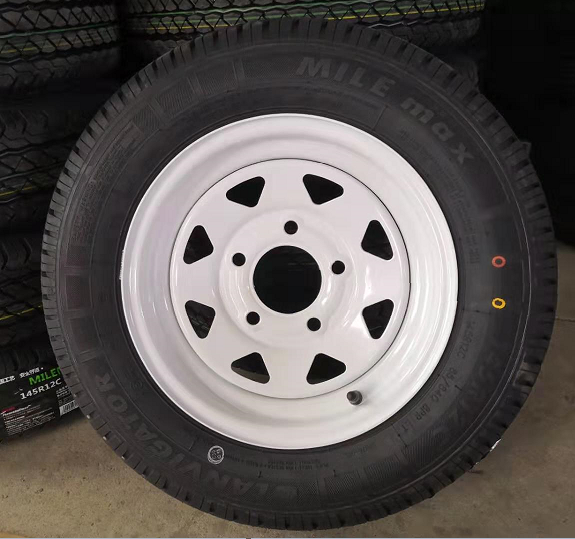
Before replacing your trailer tires, you need buy new tires. When shopping for new tires for your trailer, it is important to keep a few steps in mind. The first step in choosing new tires for your trailer is to know the size that you need. The size of the tire is determined by the width of the tire and the diameter of the wheel, also the PCD of the rim. You can find this information in your owner’s manual or on the internet. Once you know the size of tire that you need, you can start shopping around.
                                     trailer wheels
The next step in choosing new tires for your trailer is to decide what type of tire is best for your needs. You should also consider getting ones with a higher load capacity if you plan on carrying heavier loads with your trailer in the future.

2. Jack up a Trailer

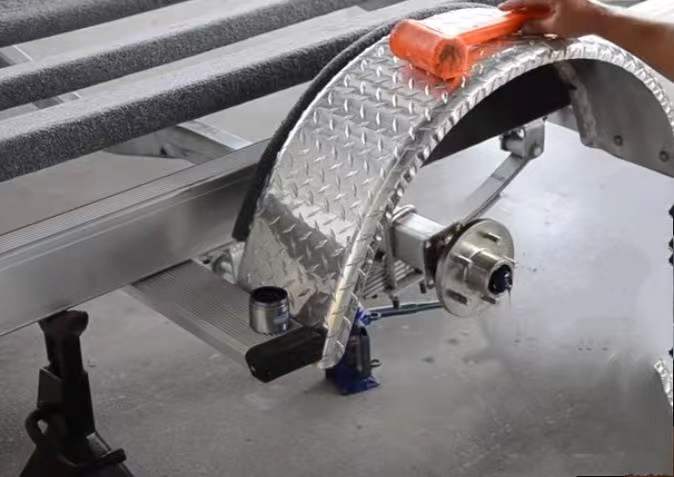
Replacing a tire on your trailer, you’ll need to jack it up first. Here’s how to do it:
a. Park your trailer on level ground and set the parking brake.
b. Place a jack under the frame of the trailer, near the tire you’ll be replacing.
c. Lift the trailer until the tire is off the ground. You may need to place a block under the jack to stabilize it.

3. Remove the old trailer wheels

When you are replacing the tires on your trailer, it is important to remove the old wheels as well. This will ensure that the new tires are properly seated and that the weight of the trailer is evenly distributed. Here’s how to remove the old wheels:
a. Remove the lug nuts from the wheels using a socket wrench.
b. Pull the wheels off of the axles.
c. Inspect the axles for any damage or wear and replace them if necessary.

4. Inspect the Wheel Hub

It’s important to inspect the wheel hub when you replace a tire on your trailer. The trailer hub is what the wheel sits on and attaches to the axle. If the hub is damaged, it can cause the wheel to come off while you’re driving.
                   trailer hub
Here’s how to inspect your trailer’s wheel hub: a. Visually inspect the hub for any cracks or damage. b. Feel around the outside of the hub for any sharp edges. c. Check that the attachment bolts are tight and in good condition. b. Spin the wheel by hand to see if it’s freely rotating on the hub. d. If you have a digital multimeter, you can check for electrical continuity between the attachment bolts and the axle itself. This will tell you if there’s a break in one of the electrical connections.

5. Install the new trailer wheels

Installing new trailer tires is a straightforward process, but there are a few things to keep in mind. First, aligning the new wheel with the holes on trailer hub. Secondly, check the wheel bearings and grease them if necessary. Once everything is lined up, tighten down the lug nuts and lower the trailer back down to the ground. Finally, inflate the tires to the proper pressure.

Conclusion

In conclusion,replacing your trailer tires is a simple process that can be completed in just a few easy steps. With the right tools and some basic knowledge, you can have new tires installed and be back on the road in no time.